- A Department dimension might include values: Engineering, Sales, Product.
- A Region dimension might include values: APAC, US, EMEA.
How to create & populate dimensions
Integration-powered dimensions
When you create a database using an integration in Runway, dimensions are automatically created based on structured data from the source system. For example:- Connecting your General Ledger will create a dimension like GL Account Name, containing all account names from your ledger. New accounts added to your GL will automatically appear as new dimension values in Runway.
- Connecting your HRIS system will create dimensions like Team, Department, Title, Payment Currency, and Office, based on the single-select fields in your HRIS.
- A CRM integration may create dimensions like Pipeline Stage or Account Owner, depending on the structure of your CRM data.
Manually creating & populating dimensions in databases
-
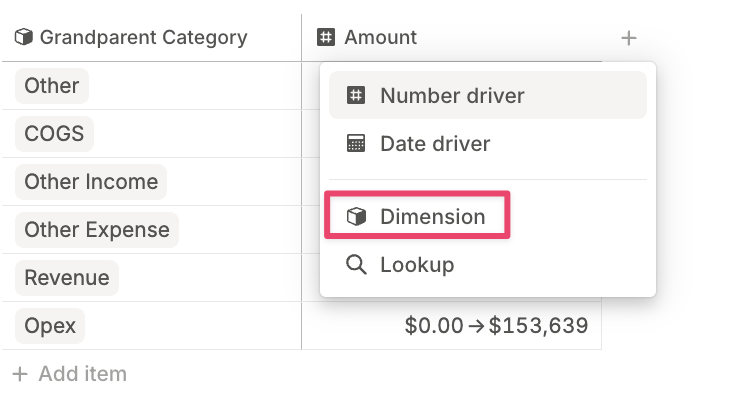
When working in a database, click the + button at the far right to add a new column. In the menu, select Dimension.
-
From there:
-
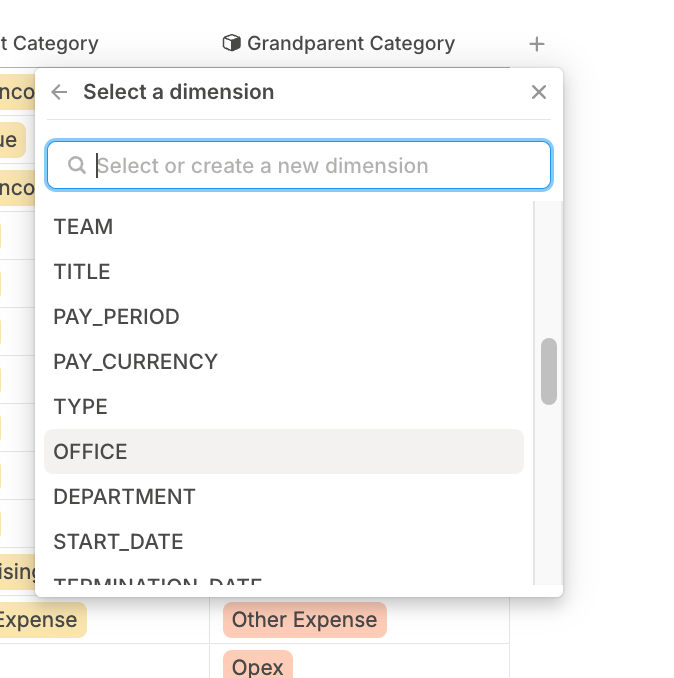
You can search for an existing dimension to reuse across multiple databases. Whenever possible, reuse existing dimensions rather than creating new ones to maintain your model’s interconnectedness.
-
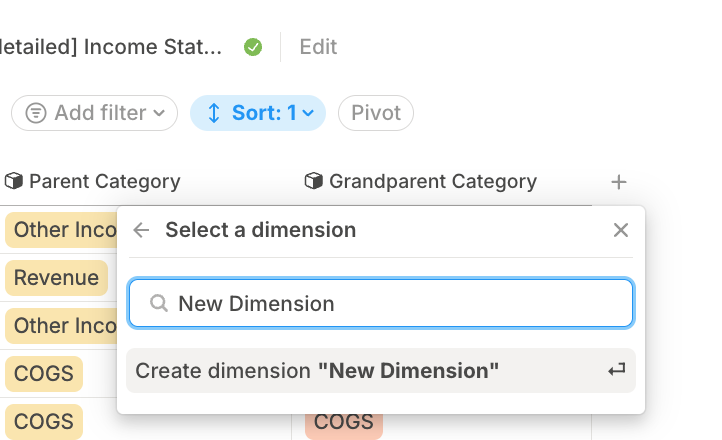
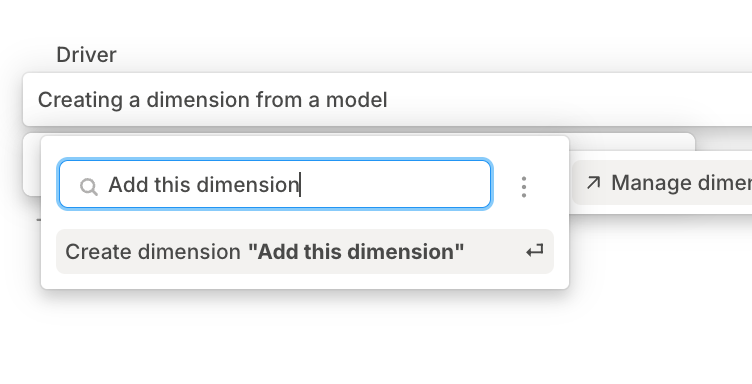
Or, start typing a name and hit Enter to create a new dimension from scratch.
-
You can search for an existing dimension to reuse across multiple databases. Whenever possible, reuse existing dimensions rather than creating new ones to maintain your model’s interconnectedness.
- Once the dimension column is added to your database, you can begin setting the dimension values for each row.
- Instead of setting dimension values manually for each cell, you can quickly populate all cells at once using lookup logic.
Manually creating & populating dimensions in a model
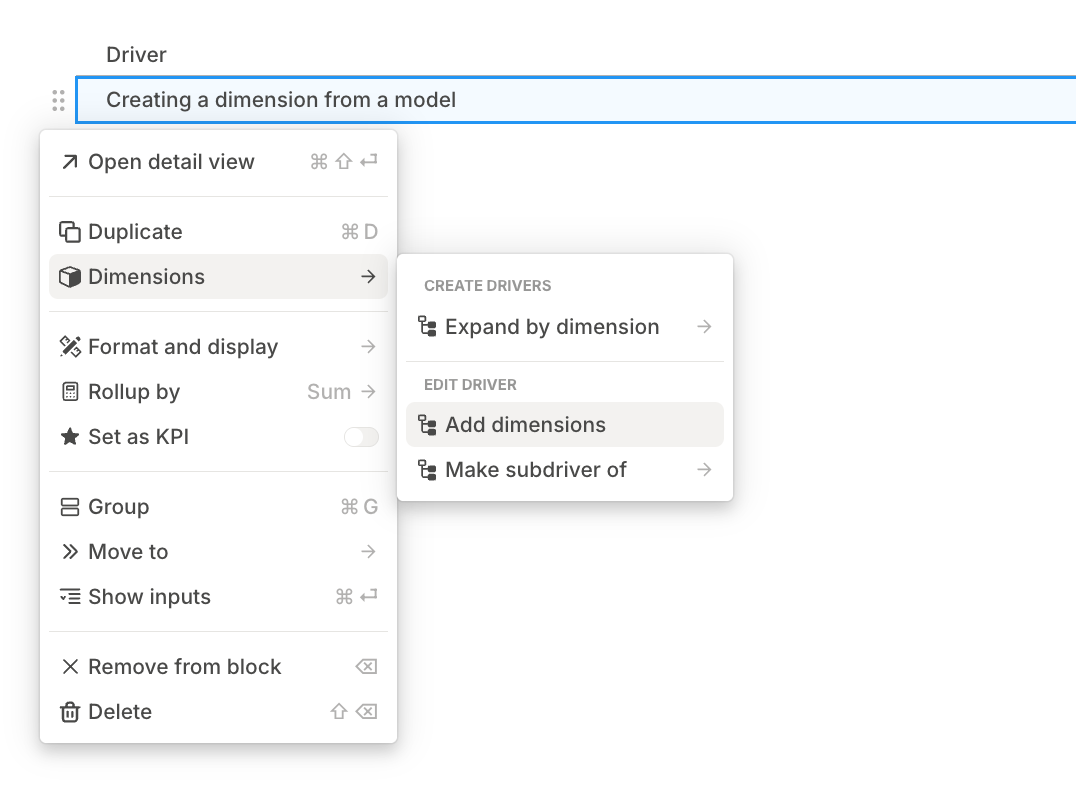
You can also segment a unsegmented driver in a model.- Click the 6-dot menu to the left of the driver name in your model.
-
Hover over Dimensions, then select Add dimension.
-
You can choose an existing dimension from the list, or type a new name and hit Enter to create a new one.
- After creating a new dimension, you’ll be prompted to define its values (e.g., “Basic,” “Premium,” etc.) directly from the submenu.
Managing dimensions
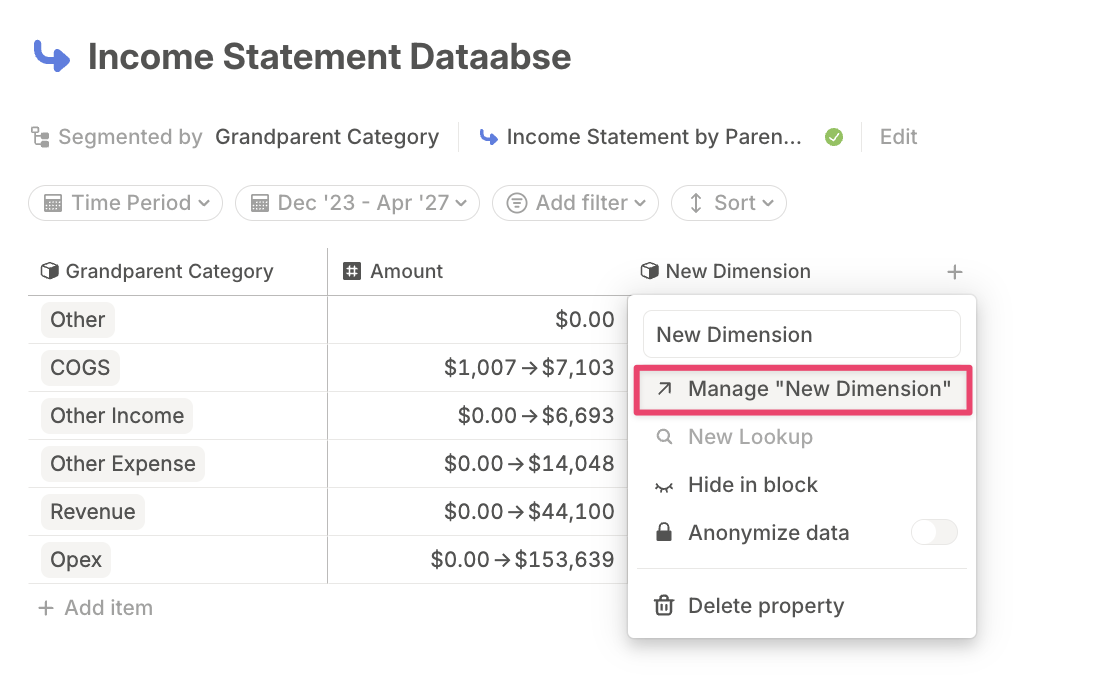
You can also manage dimensions globally in Runway using the dimensions manager. There are two ways to access it:-
From any dimension column in a database, click the column header and select Manage dimension.
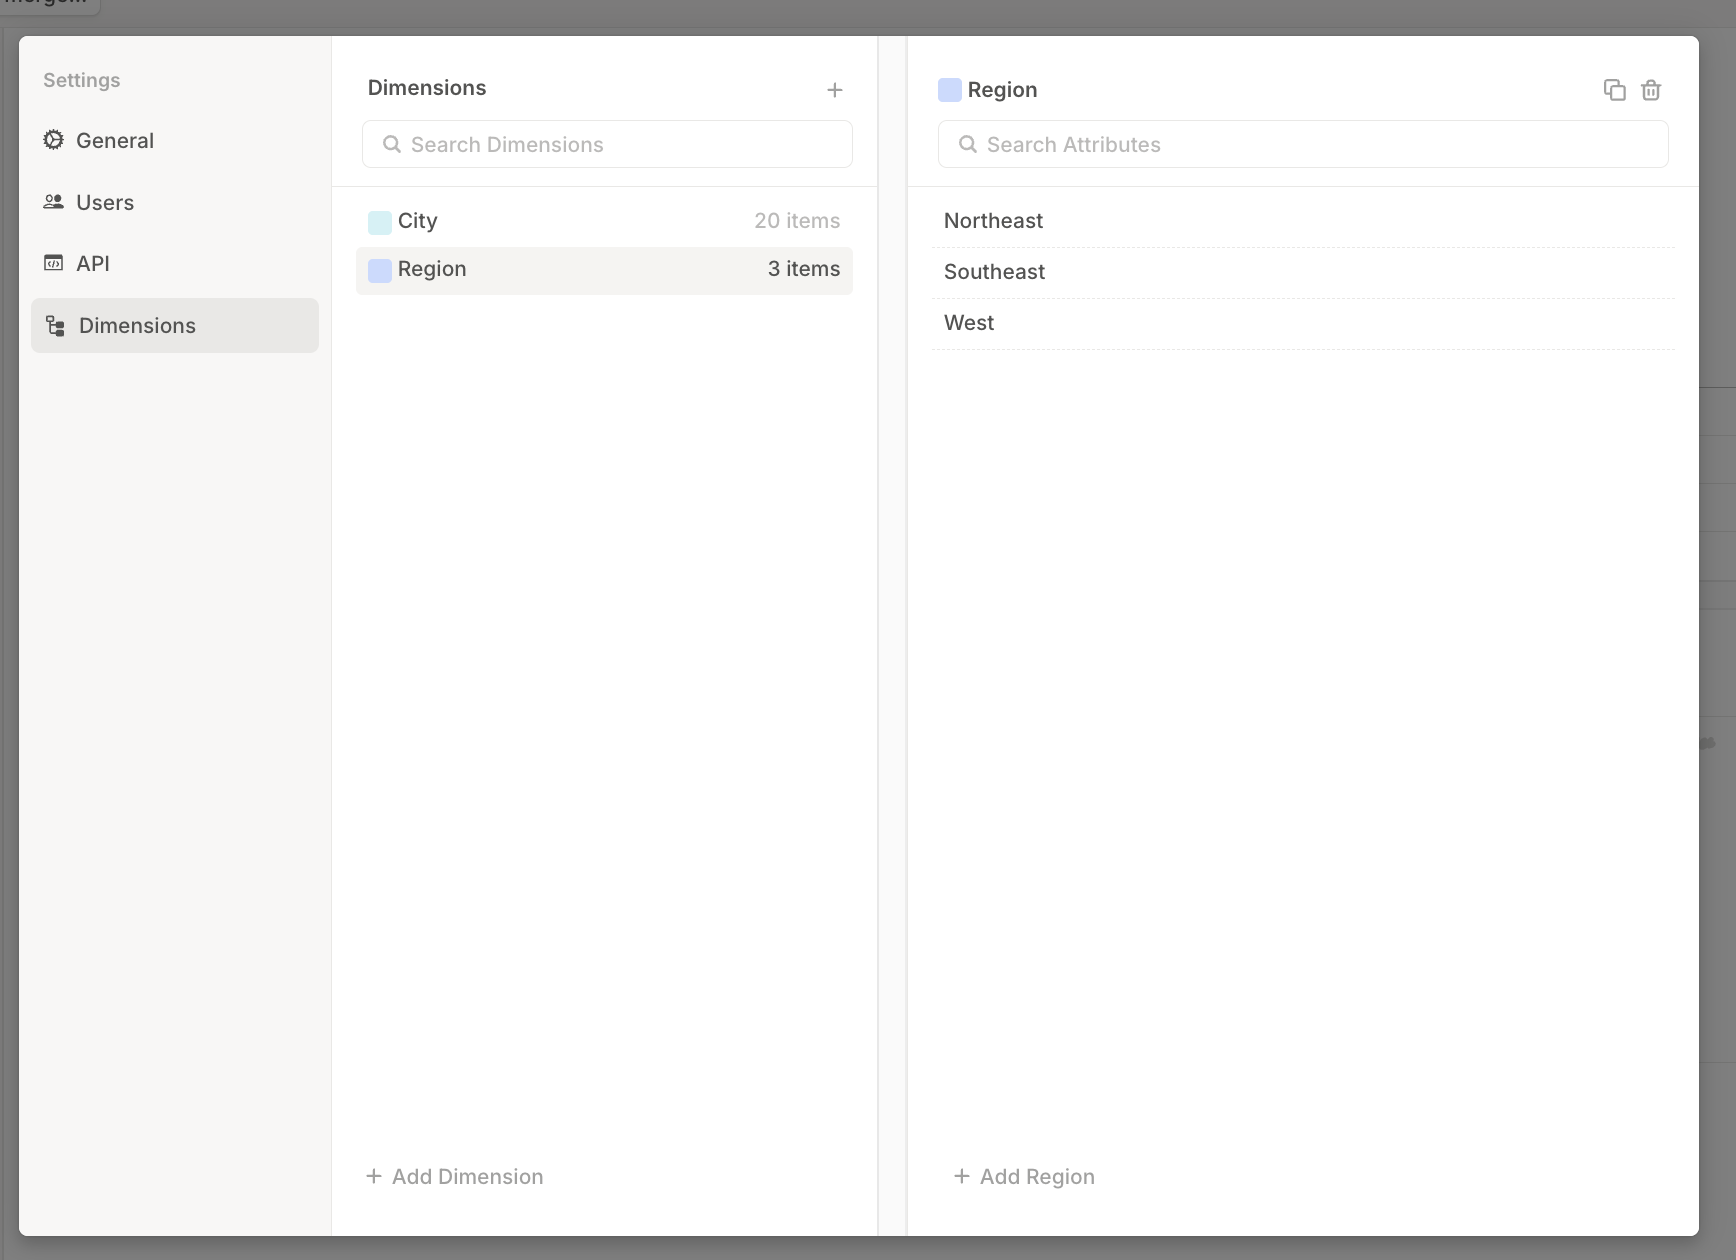
- Or go to Settings → Dimensions from your user menu (top right corner of Runway).
- Click + Add Dimension to create a new global dimension.
- Click + Add [Attribute] (e.g. + Add Region) to add a new item to an existing dimension.
Viewing dimension sources
When viewing a dimension in the dimensions panel, you can see where it was sourced from. Dimensions created from integrations will display source information, making it easy to identify which dimensions came from connected systems like your General Ledger, HRIS, or CRM.Bulk deleting dimension attributes
You can delete multiple dimension attributes at once in the dimensions manager:- Select multiple attributes by clicking on them.
- Press Backspace to delete all selected attributes.