Which approach should I use?
- New HRIS databases: Use regular databases with segmentation. This is recommended for new implementations.
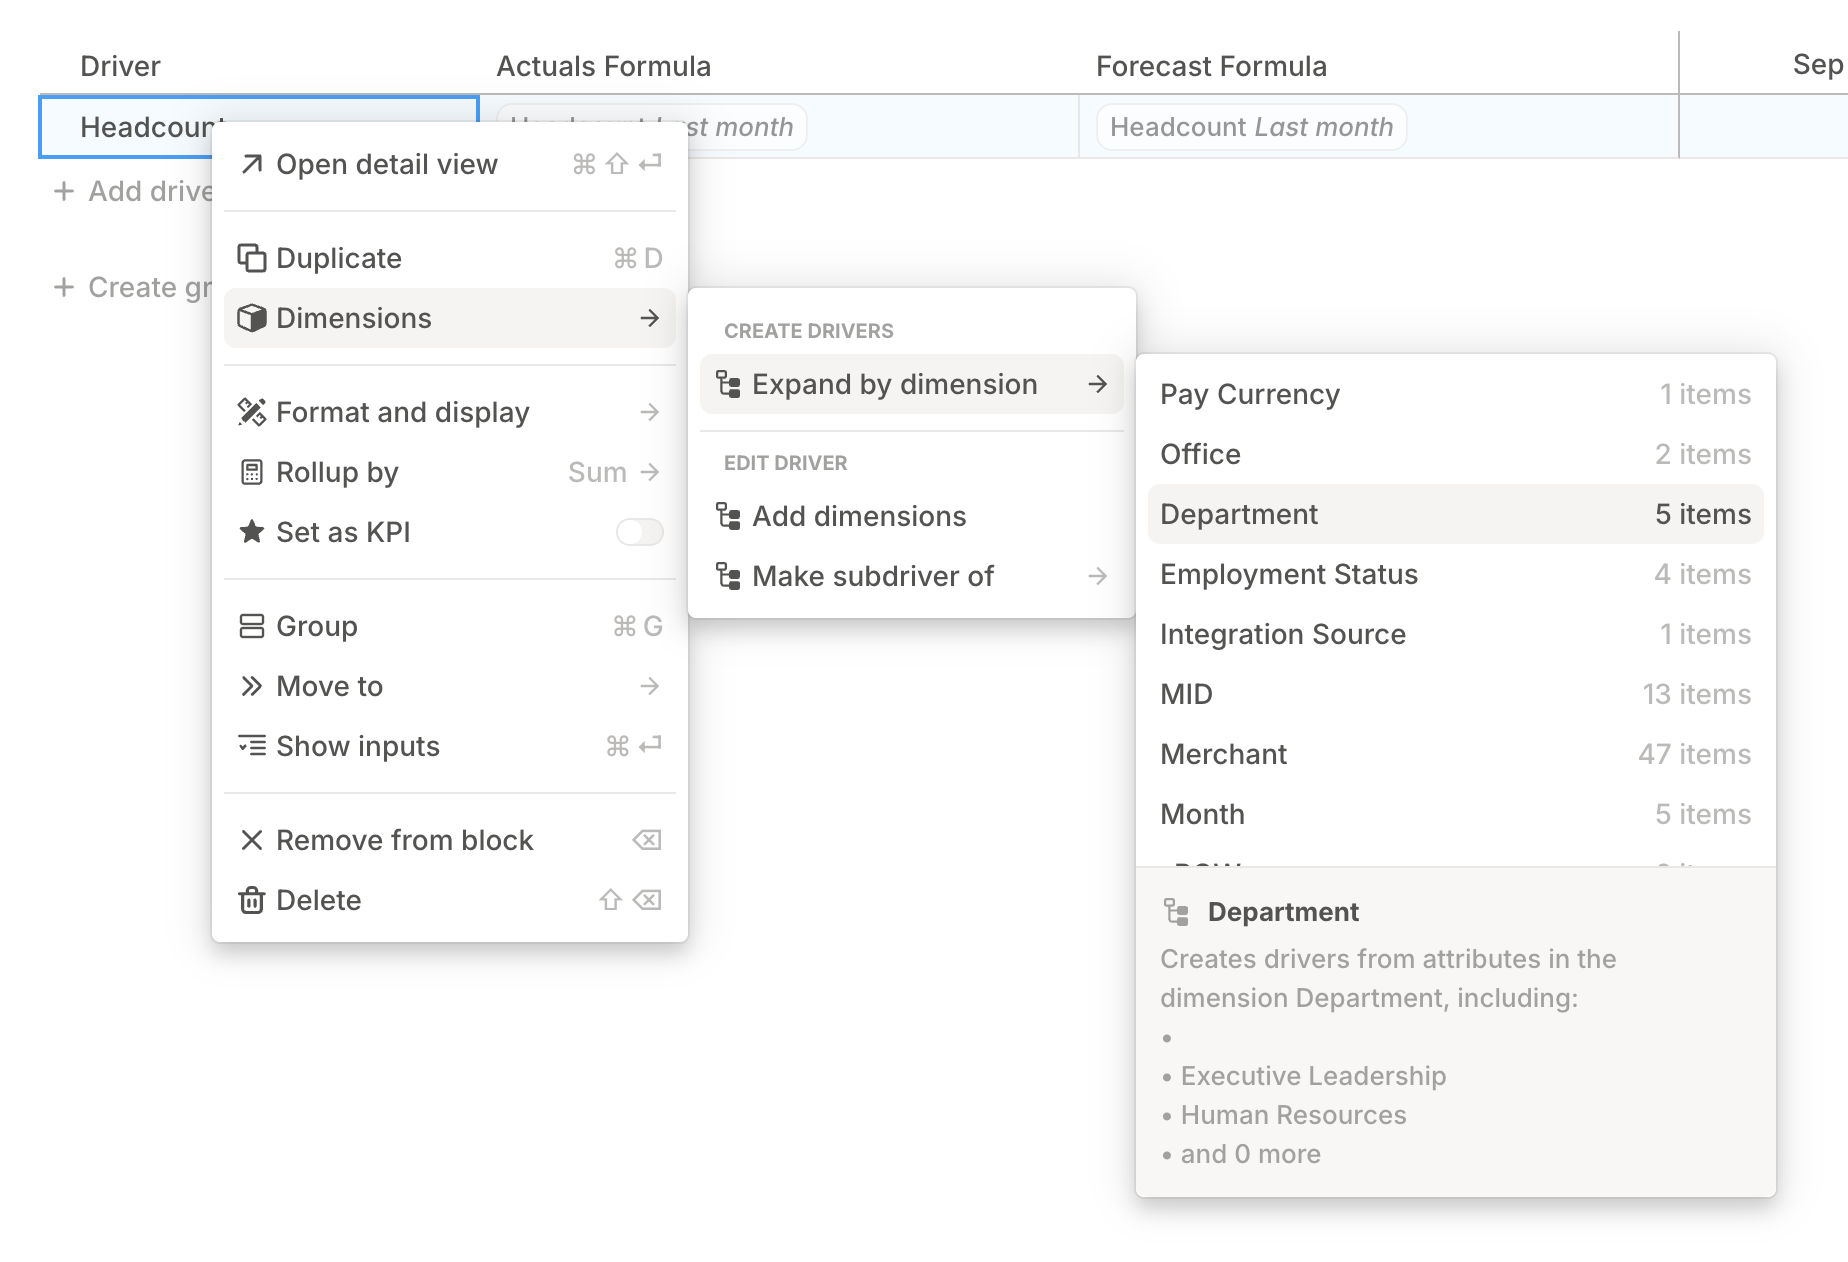
- Legacy HRIS databases: Use Expand by dimension in a model. This remains supported for existing models built with the legacy pattern.
Step 1: Set up your employee database
The first step is getting employee data into Runway. The recommended path is to connect an HRIS integration.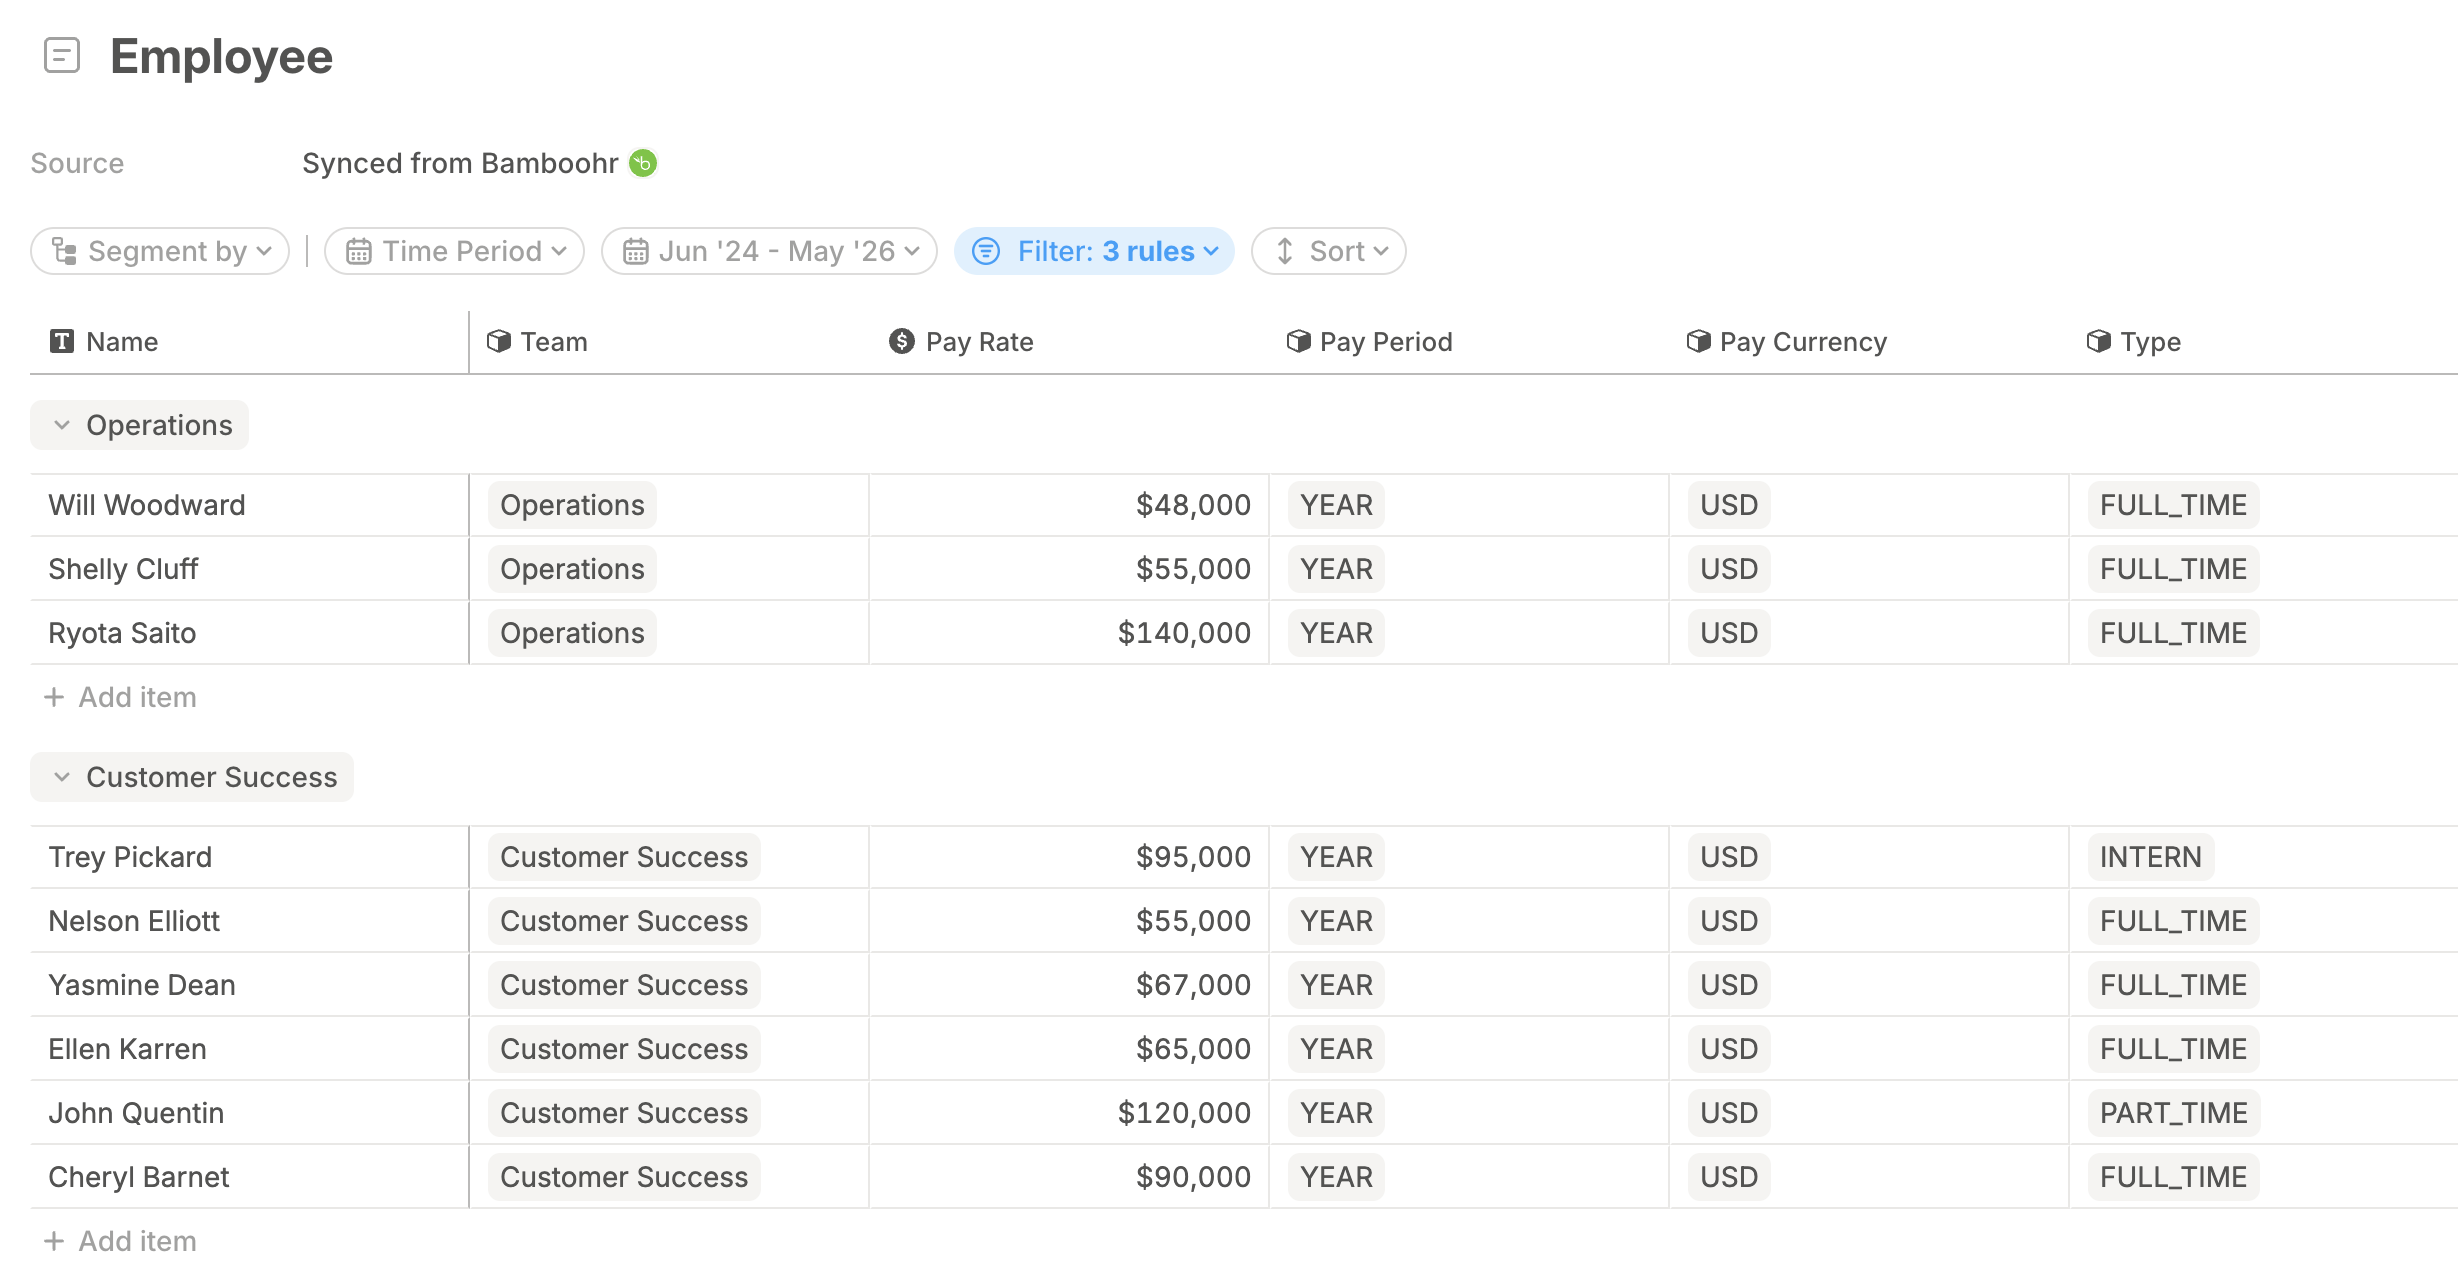
- Google Sheets: Export employee data to a sheet and connect it to Runway. Keep the sheet current because Runway reflects the connected sheet data.
- Manual setup: Create a standalone database directly in Runway with no external data source.
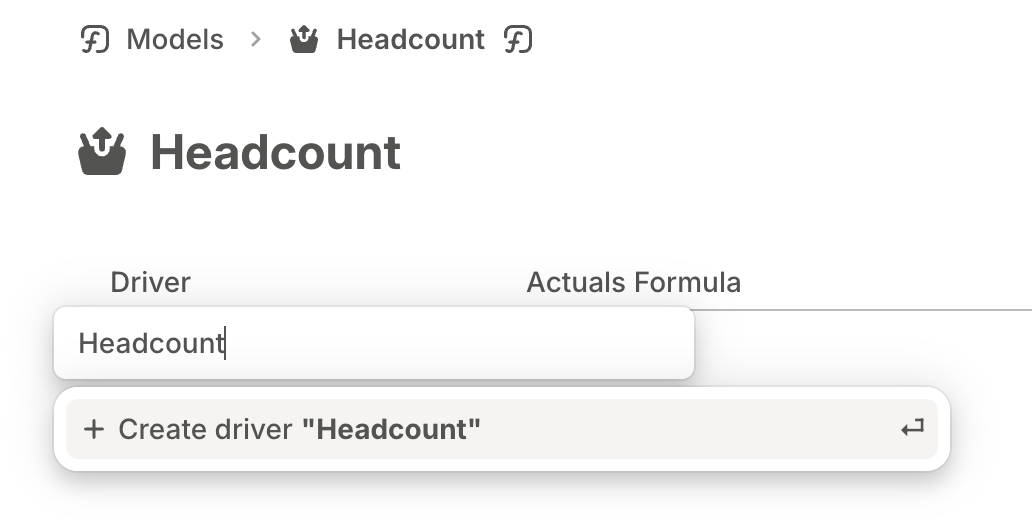
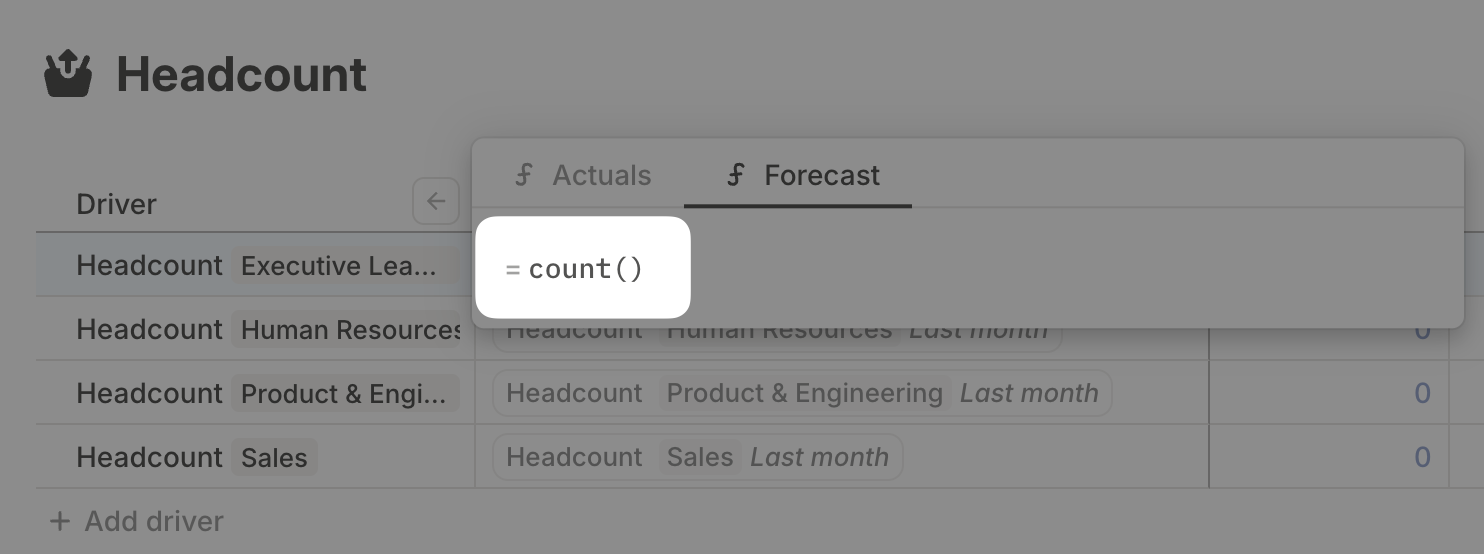
Step 2: Create headcount drivers
Choose the approach that matches your HRIS database type.- New HRIS databases
- Legacy HRIS databases
Database with segmentation
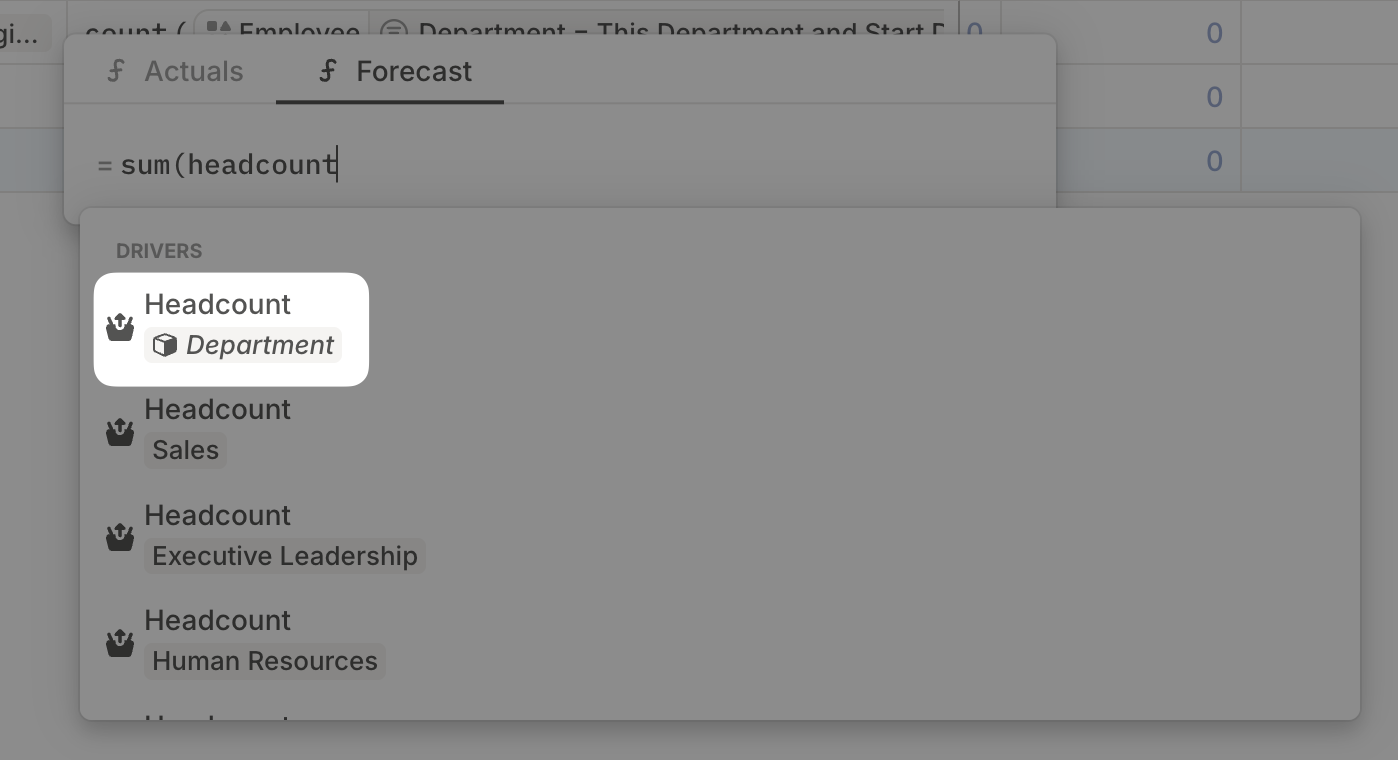
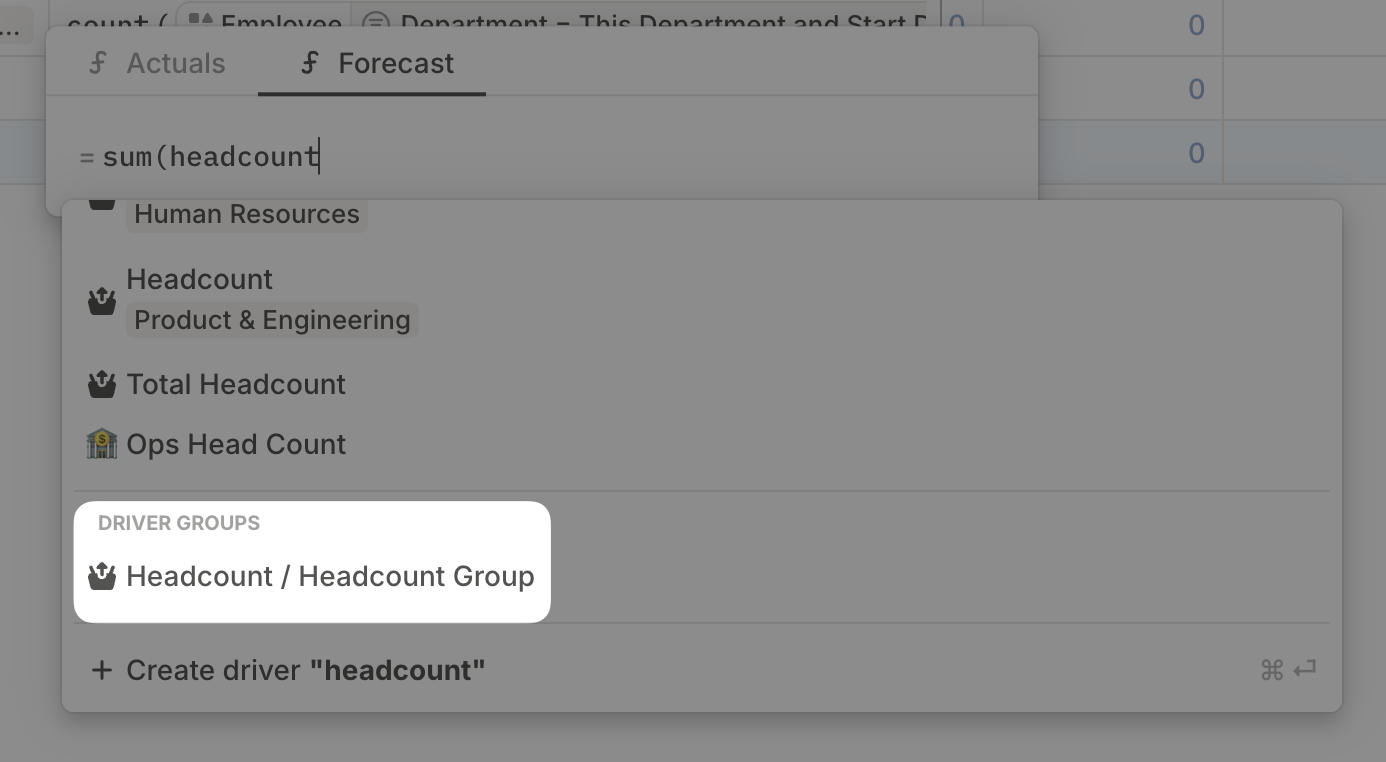
New HRIS databases behave like regular databases in Runway, so you can reference them in formulas and stack them to create drill-ins. When segmenting by dimensions that change over time, such as Department or Job Title, segment from the source query so historical changes are captured.Create a rollup database
Add a database that points to your Employees query or employee source database.
Segment by the dimension
In database configuration, segment by the dimension you want to aggregate to, such as Department. This pulls dimension values from the query so new departments and changes can flow in.
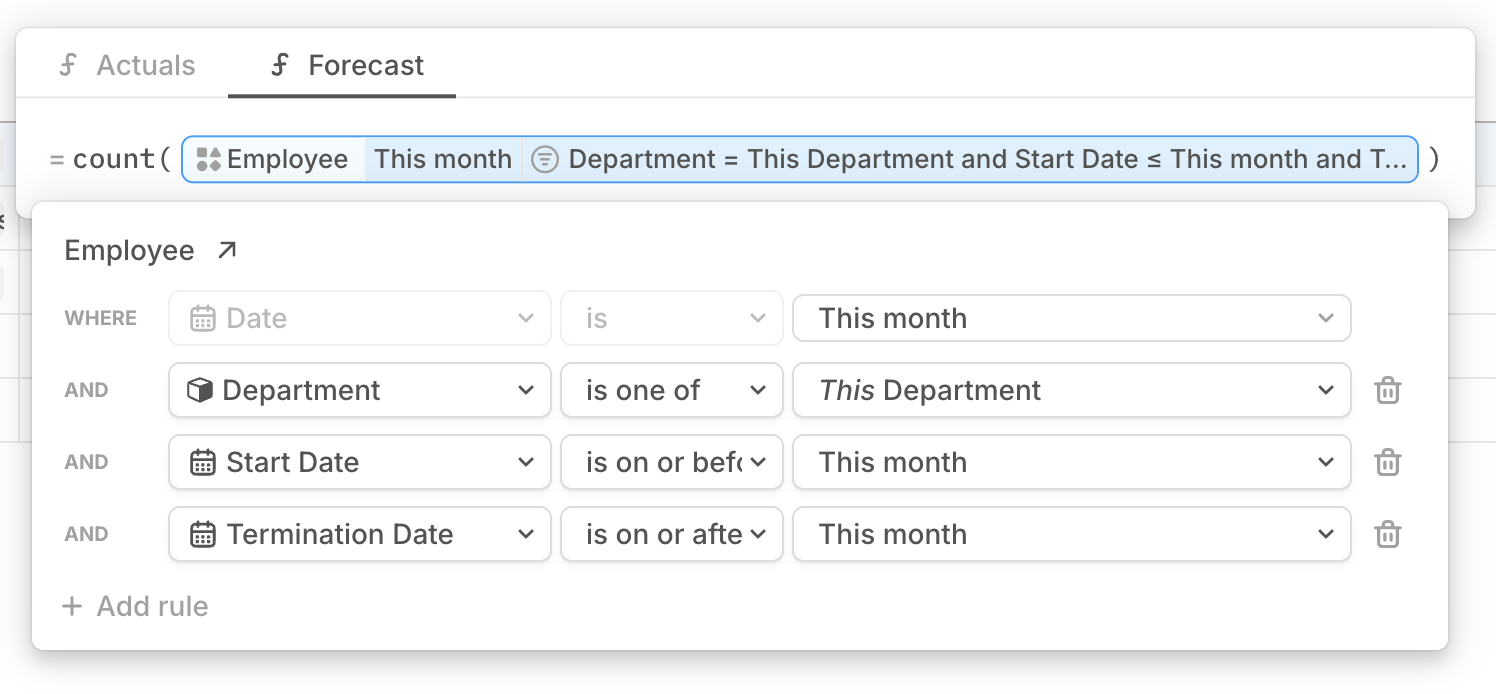
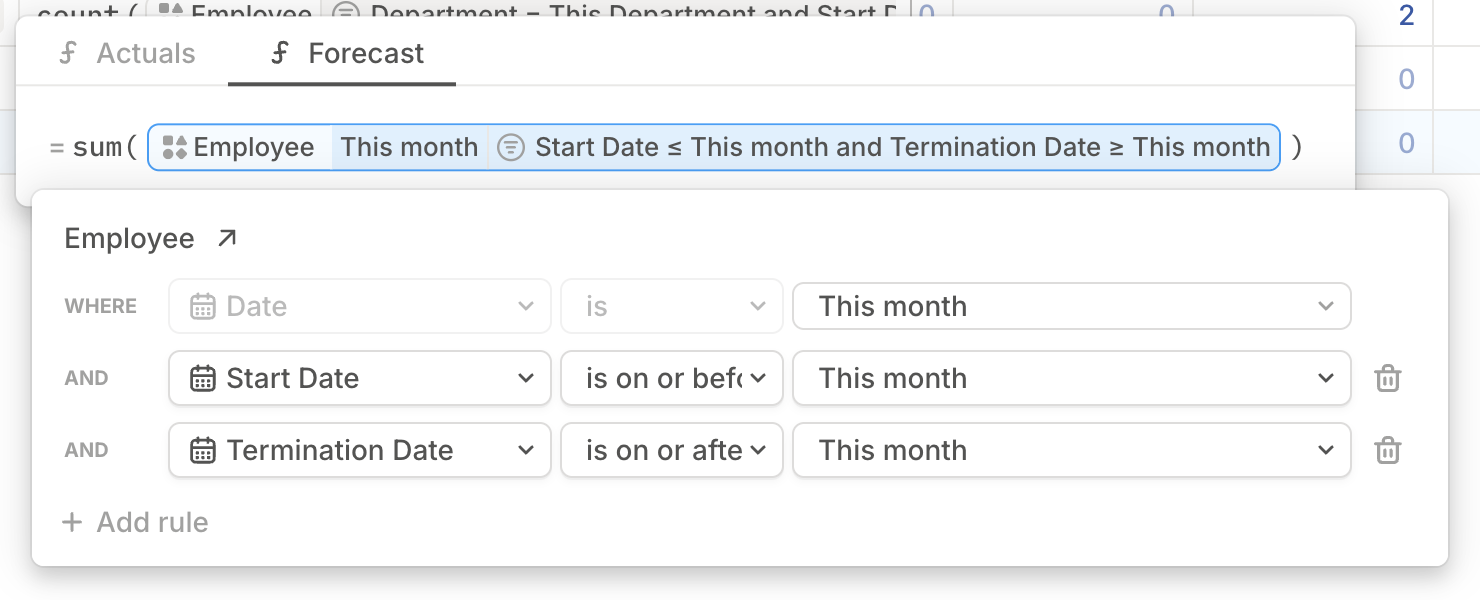
Write the count formula
Set the formula to count employees where the employee’s Department equals this database row’s Department, the Start date is on or before this month, and the Termination date is on or after this month.
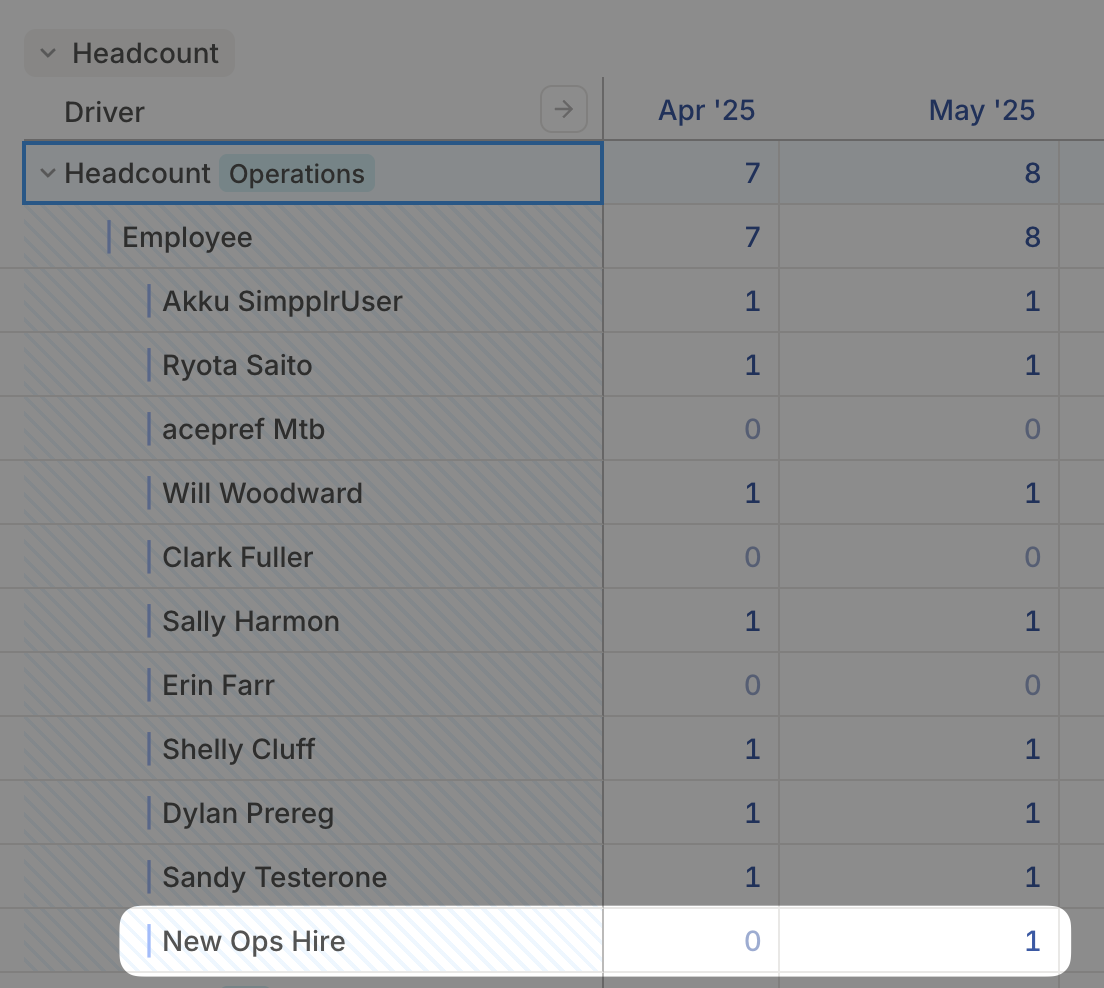
Step 3: Add new employees
The easiest place to add new hires is the Employees database.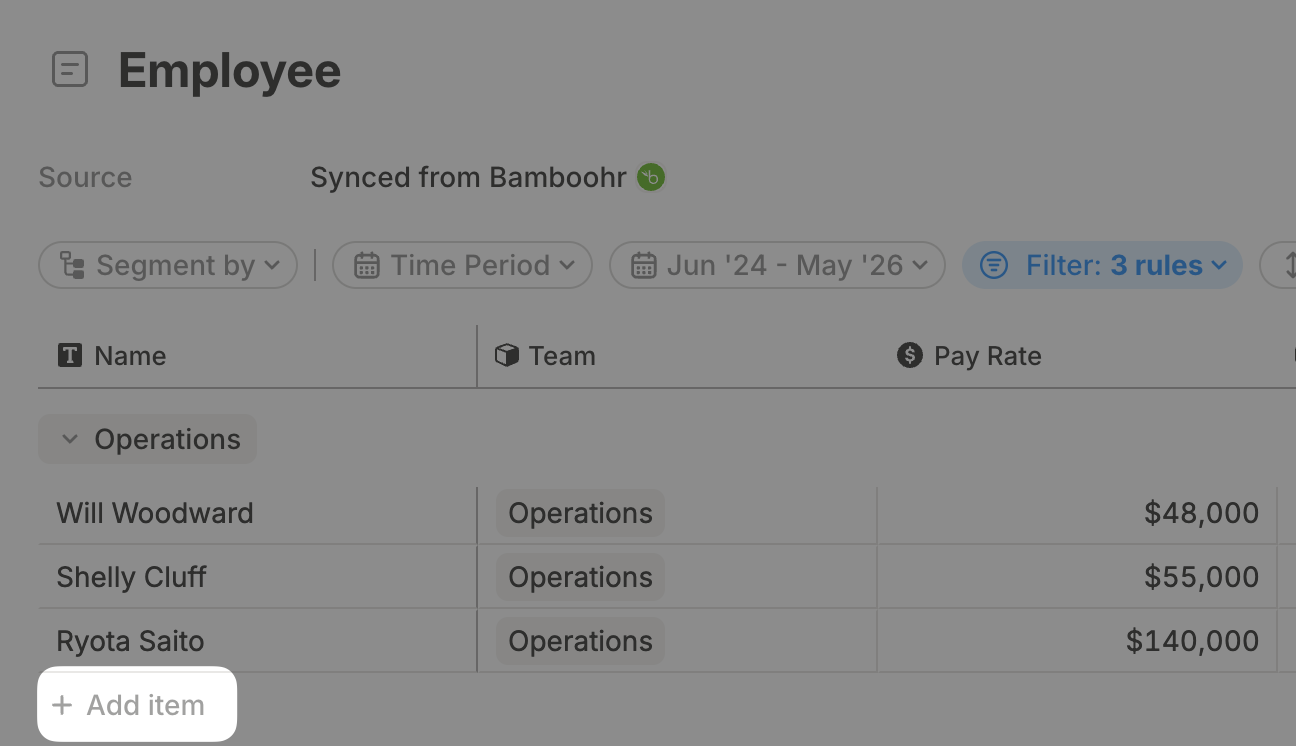
Fill required fields
Fill in the dimensions and dates used in your formulas, typically Department, Start date, and Termination date if relevant.